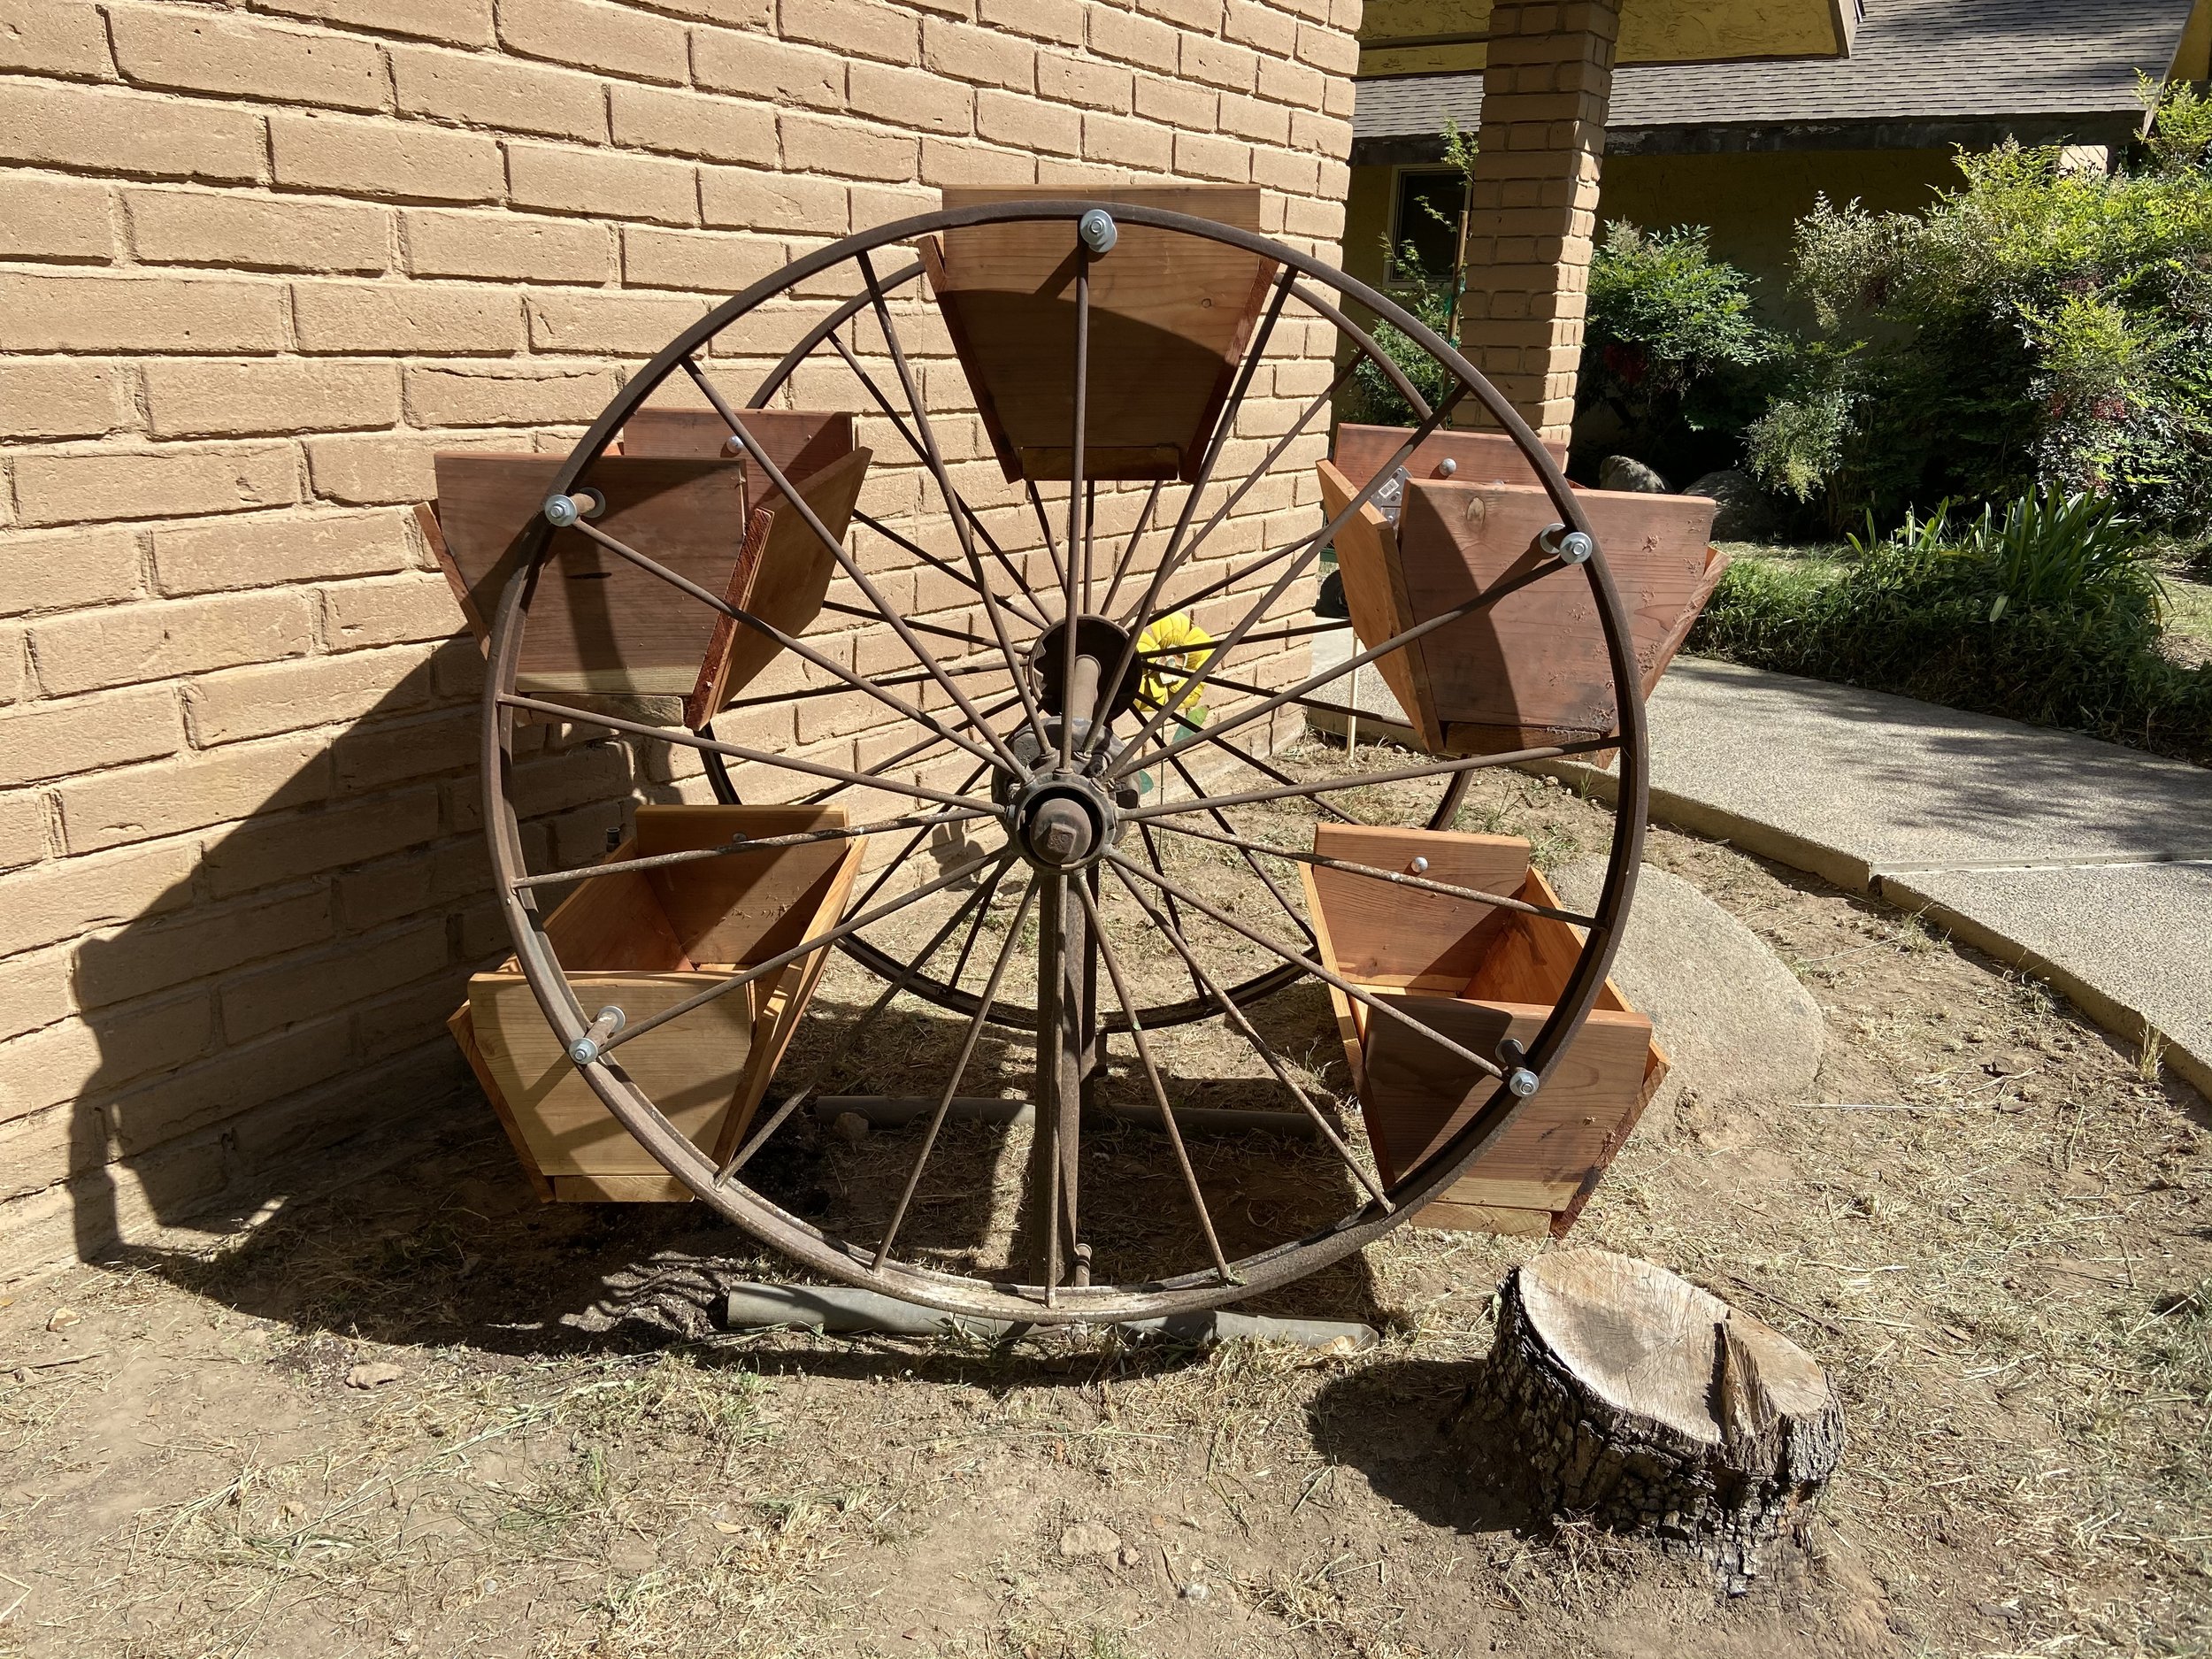
Garden Box Personal Project
Background
This wagon wheel was build by my grandfather. He and my grandmother were fans of antique farm equipment because they grew up around it. My grandfather, before he passed, took a old wagon and used two of the wheels to make a garden bow similar to this. After he passed away, the boxes started falling apart. The first boxes he made were too flimsy and made out of unstained pine wood.
I decided as a Christmas gift for my grandmother I would restore it and design the flower boxes to last longer than the original.
Design
I wanted to pick a wood that could last through years of dirt and water packed inside of the box, so I went with redwood. It has chemicals that keep it from breaking down compared to other wood. Also, I planned to stain the inside to really keep that part water resistant.
The biggest point of failure for the old boxes was the part that attached to the wagon wheel. The original pieces were only half of an inch thick. Another problem was that the grain of the boards were facing up and down so the planks split at the holes and extended to the top. My design included a thicker box wall (3/4’’) and to put the grain horizontal to reduce the chance of this splitting.
I also wanted the box to be bigger than the ones before while keeping track of my limiting measurements, so I decided on using slanted edges to have more top surface, while keeping the weight of the of the total soil lighter. I finally settled on this design:
I modeled it in Solidworks for two major reasons. One was to calculated the angle I would have to cut out of the 3/4 inch boards. The other was to show my grandmother before I sunk cost into the project and get her approval. You might notice the gaps underneath. These are intentional because they prevent overwatering and potential flooding.
Construction
After buying all of the materials, I started cutting the boards. The edges were all connected with wood glue and screws. This would increase the stress it can take and the holes at the bottom relieved me of any concern of accidently sealing the boxes.
Tools used:
Drill, Circular Saw, Saw Horses, Clamps, Brushes, Glue
After the boxes were finished, I attached them by measuring out an inch from the top and centering the boxes. A couple of bolts later and you can see the finished product at the top of this page.


